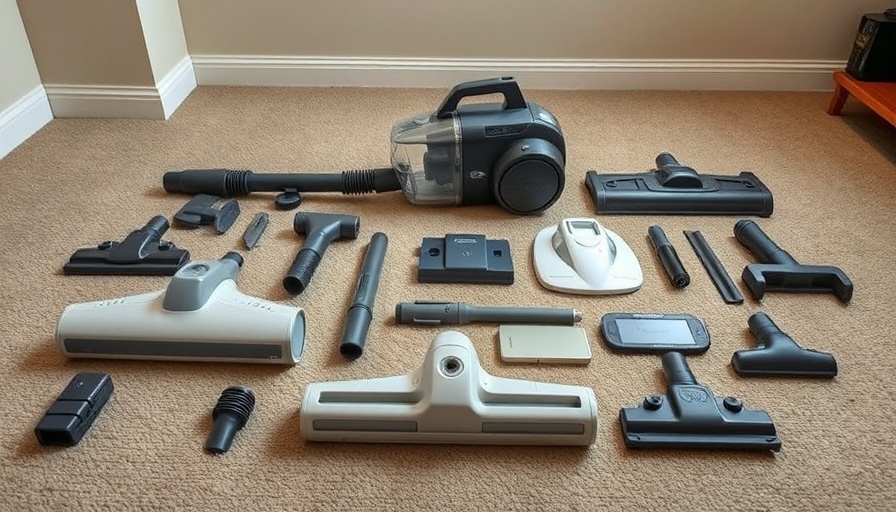
Why Regular Cleaning is Essential for Your Shark Vacuum
If you've noticed a decline in your Shark vacuum's suction power or detected unpleasant odors, it may be time to assess its cleanliness. Regular maintenance is not just a suggestion but a necessity. Consistent cleaning ensures optimal performance, potentially prolonging the lifespan of your vacuum cleaner multifold. Understanding how to properly clean your vacuum can not only improve its effectiveness but also save you money in the long run.
How Often Should You Clean Your Shark Vacuum?
Sooner or later, every Shark vacuum user faces the tough decision of when to clean. Shark's guidelines suggest cleaning your vacuum when its dust bin reaches about half capacity. For those really committed to cleanliness, aiming to clean it after each session can significantly help maintain the vacuum's suction abilities. Remember, the cleaner the machine, the better it performs. Additionally, monthly cleaning of rollers and hoses is critical to removing trapped dust that can impair functionality.
Required Tools for Vacuum Maintenance
Equipping yourself with the right tools can enhance your cleaning experience tremendously. Ensure you have:
- Microfiber cloths for general cleaning
- A larger bowl or sink for water usage
- A trash can ready for debris collection
- A soft-bristled nylon brush to tackle stubborn dirt
- Gloves to keep your hands protected
- A drying rack for air-drying your components
- A seam ripper or small scissors for finely detailed jobs
Step-by-Step Instructions for Cleaning Your Shark Vacuum
Cleaning your vacuum is straightforward when following a clear guide. Here’s how you can ensure your Shark vacuum remains in peak condition:
Step 1: Safety First
Your safety comes first! Begin by unplugging the vacuum to avoid any unexpected accidents. It’s advisable to take your cleaner outdoors to shake out dust and dirt.
Step 2: Inspect and Clean the Roller Brush
The roller brush is pivotal for suction power. Detach it carefully, pressing the appropriate button as needed. Remove any dirt or debris caught in the brush using scissors or a soft brush. A good rinse is ideal; just be sure to leave it to air dry for at least 24 hours before reattaching.
Step 3: Clean the Dust Collection Cup
After tending to the roller brush, direct your focus to the dust collection cup. This element can harbor pollutants that can affect your air quality. Empty it completely, then wash it out with warm soapy water. Let it dry thoroughly before replacing.
Maintaining Your Shark Vacuum Filters
For many Shark vacuum models, the filters can be washable. It’s essential to keep these clean to maintain suction. Rinse them under running water, avoiding any detergents that might leave residues. Just like other parts of the vacuum, these filters need ample drying time, so plan accordingly.
Future Predictions: Keeping Up with Cleaning Trends
With more consumers turning to eco-friendly options, robot vacuums are gaining traction. Still, traditional vacuum cleaners, such as Sharks, retain their relevance. Regular maintenance is key; as users push for longer-lasting products, your Shark can hold its position by simply sticking to a consistent care routine.
Conclusion
Holding onto a clean vacuum cleaner is vital to ensuring that your home remains pristine. Not only will it improve suction power, but it will also help eliminate unpleasant odors. By following these simple steps for regular maintenance, you'll keep your Shark vacuum running efficiently and effectively for years to come.
Now that you're armed with all the necessary cleaning tips for your Shark vacuum, it’s time to take action! Maintaining your appliances can significantly enhance their performance, therefore making your cleaning routine less of a hassle. Dive in today and start revitalizing your home!
 Add Row
  Add
Add 


 Add Row
  Add
Add 

Write A Comment