 Add Row
  Add
Add 


Create Your Own DIY Dog Wash Station: A Rewarding Project
If you’re a proud dog owner, you know that keeping your furry friend clean can be a challenge. Enter the DIY dog wash station—a fun home project that not only elevates your dog-washing game but also keeps your home safe from dirt and fur. Let’s break down the steps and considerations for creating a dog wash station that will transform grooming into a joyful experience for both you and your pet.
Why You Need a Dog Wash Station
As dog owners, we understand that our canine companions love getting dirty, whether it’s from a playful romp in the yard or a muddy walk in the park. A designated dog wash station simplifies bath time, ensuring that your dog can be washed quickly and efficiently right in your home. Not only does this setup prevent messes within your living space, but it also promotes a more enjoyable bathing experience for your dog.
Key Considerations Before Building
When planning your DIY dog wash station, here are some essential factors to consider:
Optimal Location
Choosing the right location is crucial. Common options include a utility room, a mudroom, or even the garage. A place that’s already set up for messes is ideal. It’s important to ensure that the area is waterproof—this is where your aspirations for a clean and organized space can easily become compromised if proper planning isn’t considered.
Design and Size
The size of your dog wash station should cater to the size of your dog. An elevated station can ease strain on your back, making it more comfortable to groom larger breeds. A raised platform can also integrate easily with other household chores, like rinsing muddy footwear or washing off garden tools.
Step-by-Step Guide: Building Your Dog Wash Station
Building a dog wash station can be a rewarding project that requires some basic tools and materials. Here’s a simplified walkthrough of the process:
Materials Needed
- Acrylic or fiberglass shower pan (60” x 36”)
- 2x4 wood pieces
- Plywood sheet
- Cement board
- Tiles
- Shower drain assembly and more
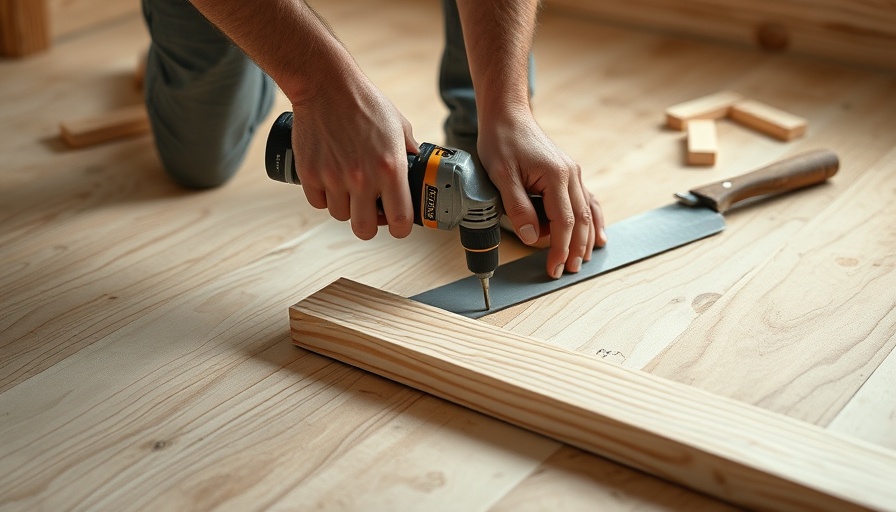
Step 1: Framework Assembly
Start by constructing a robust frame for your dog wash station using 2x4 wooden pieces. Cut these into varying lengths to form the back, side, and internal structural walls. Remember to secure everything firmly, ensuring that your station will withstand the wriggling of a freshly bathed dog!
Step 2: Installing the Shower Pan
Set the shower pan at the desired height and secure it with construction adhesive. This pan will be the basin for washing your dog, ensuring you capture all that excess water and dirt efficiently.
Step 3: Tile the Walls
Cover the walls of the station with tiles. This not only enhances the aesthetic but also makes cleaning up after bath time a breeze. Use a notched trowel for applying thin-set mortar and make sure to grout once all the tiles are secure.
Step 4: Add the Finishing Touches
Consider integrating a handheld showerhead for ease of use. This addition will allow for thorough cleaning after bath time. Storage shelves or hooks for dog accessories can also make bath time less chaotic.
Elevate Your DIY Experience
Fun personalized touches can enhance the function and charm of your dog wash station. Think about customized tiles featuring your dog's name or playful paw prints. There is a whole world of inspiration available online through platforms like Pinterest to fuel your creativity.
Benefits of Having a Dog Wash Station
Not only does a DIY dog wash station keep your home cleaner, but it also adds value to your property. In fact, according to a Zillow study, adding elements like a dog wash station can increase your home’s value by up to 19%! Not only is it a practical solution to clean pets, but it's an attractive feature for potential buyers.
Conclusion: Ready, Set, Go Build!
With these guidelines and a dose of enthusiasm for DIY projects, you’re all set to build your own dog wash station. Not only will you make grooming a breeze—both for your four-legged friend and yourself—but you will also contribute positively to the comfort of your home. Pull out your tools, get creative, and start enjoying cleaner and happier bath times!


Write A Comment