 Add Row
  Add
Add 

Revitalize Your Tiles: The Art of Grout Removal
Are you tired of staring at stained and dull grout? Whether dealing with stubborn dirt or considering a glamorous color change, grout removal can rejuvenate your tiled spaces without breaking the bank. This guide offers various effective methods to safely and effectively remove grout from tiles, breathing new life into your home.
Why You Might Need to Remove Grout
There are several compelling reasons to tackle grout removal:
- Stains and Mold: Over time, grout can become a breeding ground for dirt and mold, making it virtually impossible to maintain its original luster.
- Color Changes: Perhaps you've grown tired of the current grout color and wish to update your aesthetic.
- Damaged Grout: If your grout is cracked or deteriorating, the best solution often involves complete removal and replacement.
- Preparation for New Tiles: Renovating your bathroom or kitchen will typically require removing old grout before installing new tiles.
Tools and Materials You'll Need
Having the right tools can make the process of removing grout less intimidating. Here’s a simple checklist:
- Safety goggles
- Oscillating multi-tool with grout removal blade
- Utility knife
- Plastic scraper
- Shop vacuum
- Mixing bucket
- Sugar, vinegar, or other softening agents
Method 1: Oscillating Tool for Grout Removal
The most efficient way to remove a significant amount of grout is to use an oscillating tool fitted with a grout blade. Follow these steps:
- Wear your safety goggles.
- Attach the grout removal blade and turn on the power.
- Lightly press the blade into the grout seams; importantly, let the tool do the work.
- For corners and edges, tilt the blade at an angle.
Method 2: DIY Sugar and Water Solution
If you prefer a gentler approach, consider a DIY sugar-water solution. Sugars make for a fantastic abrasive that won't damage tiles:
- Mix one cup of sugar into a gallon of water.
- Apply the solution to the grout and let it sit overnight.
- Use a wooden stick to gently pull away softened grout in the morning.
Method 3: Using Vinegar
For tough grout that resists other methods, vinegar can be effective. Simply mix equal parts water and vinegar, apply to the grout, and allow it to sit for a minimum of 30 minutes before attempting removal with a scraper.
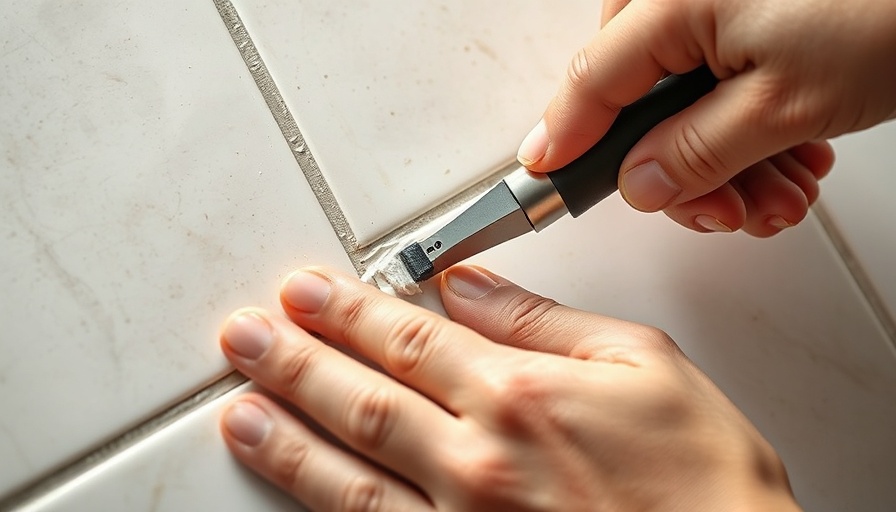
Method 4: Manual Removal Techniques
When power tools are not your style, go manual! A plastic scraper or grout saw can work fine for small areas or tougher spots. Just be gentle to avoid damage:
- With the scraper or saw, carefully scrape away the grout, making sure to avoid the tile surface.
- Finish up with a utility knife to clear away any stubborn bits.
Common Mistakes and Troubleshooting
While removal might be straightforward, precautions can prevent damage.
- Always protect tile edges with painter's tape to prevent scratching.
- Work slowly, especially with manual tools, to avoid cracking tiles.
- Keep a vacuum near to manage dust and debris as you work.
The Benefits of DIY Grout Removal
Taking on a grout removal project can save you money and empower you to refresh your living spaces. Plus, learning new skills can be rewarding!
Conclusion: Fresh Start Awaits
Now that you have the tools and methods to tackle grout removal, it’s time to transform your tiled spaces. Dive into the projects with confidence and enjoy the process. If you found these tips helpful, feel free to share your before-and-after pictures or drop your thoughts in the comments below—it would be lovely to hear how your DIY journey turned out!


Write A Comment