The Power of a Fresh Grout Job: Why Regrouting Matters
If your tile floors are starting to show their age with unsightly grout lines, consider regrouting as an affordable and transformative option. Regrouting not only revitalizes the appearance of your floor but also extends the life of your tiles. Old grout can harbor moisture, dirt, and even mold, damaging the underlying materials over time. By taking the time to regrout, you're investing in the long-term health of your home flooring.
Step-by-Step Guide to Regrouting Tile
Let’s break down the eight easy steps that will guide you through the regrouting process, ensuring you have gorgeous, clean grout lines in no time.
1. Gather Your Tools and Materials
Before you begin, you're going to need a few key items:
- Grout mix
- Tile sealant
- Oscillating tool
- Cloth
- Bucket
- Trowel
- Knife
- Cleaner
- Toothbrush
- Sponge
- Grout float
- Tile finishing tool
Having these materials on hand ensures a smooth regrouting process.
2. Clean the Existing Grout
Your first task is to thoroughly clean the existing grout. This involves scrubbing the lines with a bleach or hydrogen peroxide solution to remove dirt, grime, and any fungal growth. For stubborn stains, using a razor blade can help to scrape away the top layer of grime—just be careful not to scratch the tiles.
3. Prepare the Area
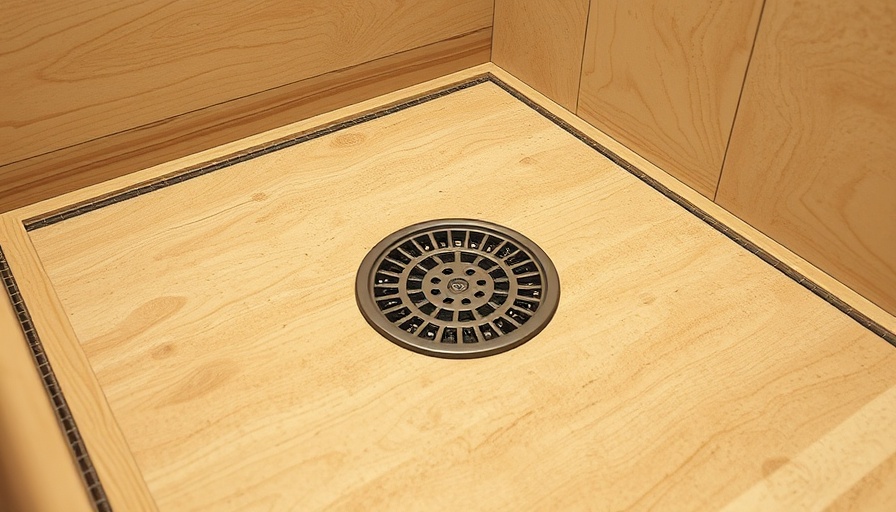
Once cleaned, you'll want to prepare the surrounding area. Cover drains with tape to prevent mess and examine each tile for damage. Removal of old grout requires a keen eye and sufficient space to work.
4. Remove Old Grout
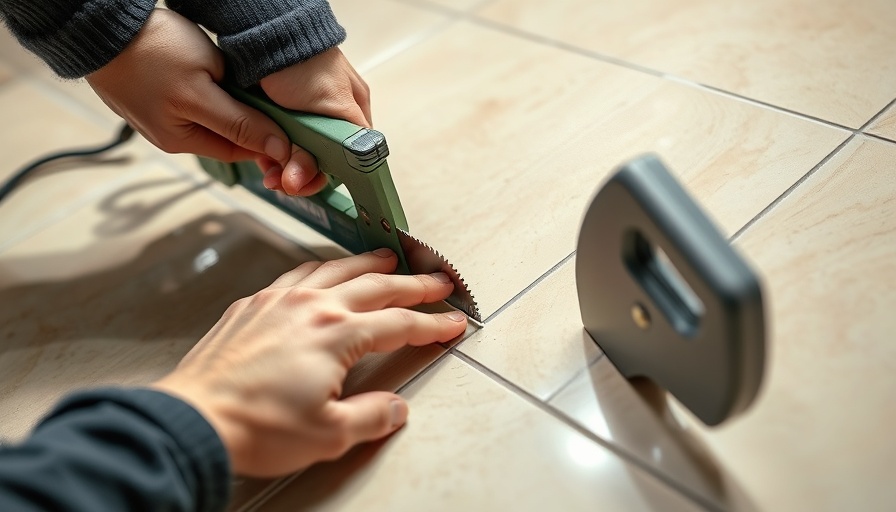
Using an oscillating tool, carefully remove the old grout between the tiles, working slowly to avoid damaging the tiles themselves. This process might take some time but is crucial for a fresh start.
5. Vacuum Thoroughly
Before applying new grout, vacuum the entire surface. A clean area is essential for ensuring a strong hold with the fresh grout.
6. Apply Tile Sealant
Applying a tile sealant after cleaning helps protect against future mold and mildew. Ensuring the surface is sealed before regrouting is vital for longevity.
7. Regrout the Tiles
With your area prepared, apply the new grout using a float. Press firmly to push the grout into the gaps between the tiles, ensuring it fills all voids.
8. Finishing Touches
Once the grout is applied, wipe any excess from the tile surface with a damp sponge, being cautious not to disturb the grout in the joints. Allow it to cure for the recommended time before sealing it.
Conclusion: Why Regrouting is Worth Your Time
Regrouting might seem like a daunting task, but the results are worth the effort. Not only will you have revitalized tile floors, but you’ll also feel a sense of accomplishment by taking on the project yourself. It’s an excellent way to enhance your home's aesthetics without breaking the bank. So roll up your sleeves, gather your materials, and transform your tiles into something beautiful once again! Don't forget, when you love your home, every little step counts towards creating a comforting environment.
If you’re eager to dive into your regrouting project today, make sure to prepare thoroughly and take your time. Happy DIY-ing!
 Add Row
  Add
Add 


 Add Row
  Add
Add 

Write A Comment