 Add Row
  Add
Add 

Why a Shower Curb is Essential for Your Bathroom
Many homeowners struggle with keeping their bathrooms dry, which is why the importance of a well-constructed shower curb cannot be overstated. By effectively separating the shower pan from the rest of the bathroom, a curb helps contain water, preventing puddles that can lead to mold and long-term damage. Without this simple installation, you may find yourself mopping up water every time you take a shower.
Gathering Essential Materials
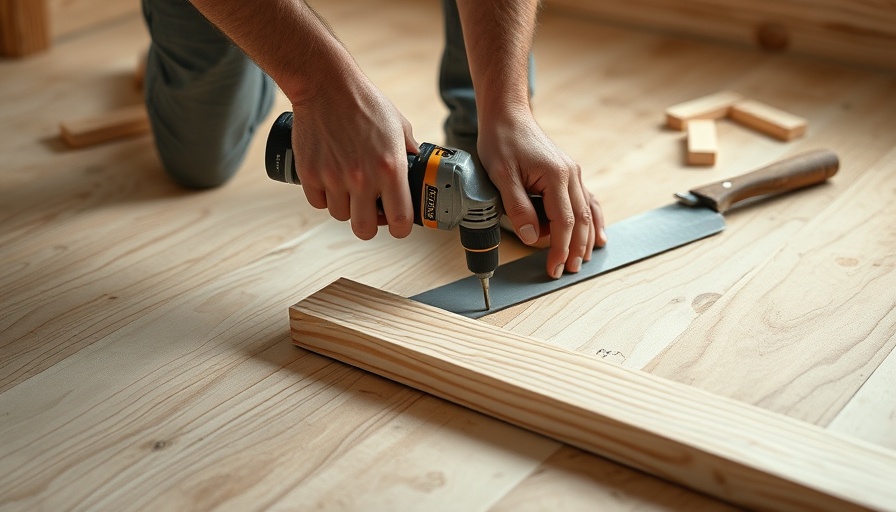
To successfully embark on this DIY journey, start by gathering the necessary materials. At minimum, you'll need non-corrosive screws, a waterproof pan liner, some gloves for protection, liner glue, cement mortar, lath, Portland cement, a flat trowel, and a sturdy knife. Having these items on hand will save you from unnecessary interruptions and will make the task more enjoyable.
Understanding Your Shower Floor Type
Before you start constructing your shower curb, consider the type of flooring in your bathroom. If you have wooden floors, opt for wood bricks; for laminate flooring, go with laminate bricks. If your space has a concrete foundation, avoid lumber entirely because it can absorb water, leading to swell and damage. Paying attention to these details will ensure the longevity of your curb!
Installing Your Shower Curb Step-by-Step
The installation process can seem intimidating, but it's quite manageable with the right approach. Here are the steps to successfully build your shower curb:
- Prepare the Shower Curb: Depending on the materials you've chosen, cut the bricks into equal lengths and arrange them sequentially. This prevents any mishaps with the height, ensuring that the door to your shower swings open and closed smoothly.
- Use a Waterproof Pan Liner: This crucial step protects the underlying floor from any potential water damage. Spread the liner smoothly across the whole bathroom floor, making sure to cover the shower area adequately. If you have already sloped the floor, this step can sometimes be skipped.
- Adding Structural Support: Secure your curb by installing a metal lath, which can provide an additional layer of stability. Three layers could be warranted for extra strength during the curing process.
- Cement Mortar and Finishing: Construct your curb using cement mortar, giving it a defined shape. Mix your own mortar or purchase it from a nearby store for quality assurance. Follow this with the finishing touches, ensuring everything is secure.
Common Misconceptions About Shower Curbs
A common misconception is that building a shower curb is something only professionals should tackle. Contrary to this belief, anyone with basic DIY skills can embark on this project—with lots of online tutorials and guides available!
Real Experiences: Success Stories from Your Community
Local initiatives often highlight community members who have tackled similar projects. For example, a neighbor named Doris decided to undertake the task herself after experiencing continuous leaks, and she now boasts that her newly created curb not only keeps her bathroom dry but has improved her home value. Such success stories are inspiring and demonstrate the rewarding nature of DIY projects.
The Benefits of Completing This Project
Completing this project not only enhances your bathroom's functionality but also boosts your self-esteem as a homeowner. In an age when traditional trades are rapidly changing, developing these skills is invaluable.
Building a shower curb might seem daunting initially, but taking it step-by-step makes it manageable—and you might surprise yourself with what you can accomplish! So grab those tools, and get started on making your bathroom the oasis it was meant to be.
Your Next Steps: Why You Should Act Now
Now that you have a comprehensive understanding of how to build a shower curb, why not embark on this project? Not only will it enhance the practicality of your bathroom, but it will also give you a sense of fulfilment that comes from completing a DIY task.


 Add Row
  Add
Add 
Write A Comment