Building Your Dream Shower Pan: A DIY Journey
Creating a personalized shower pan can offer both functionality and aesthetic appeal, making it a worthwhile DIY project for homeowners. By constructing your own shower pan, you gain the freedom to customize dimensions and materials to fit your unique space. This article will guide you through the steps to building a water-resistant and stylish shower pan tailored to your needs.
Understanding Shower Pans: The Foundations
Shower pans, often referred to as shower bases or floors, serve as the foundation of any shower structure. Traditionally, many people opt for factory-made polyurethane or fiberglass shower pans due to their convenience. However, for those adventurous enough to take the DIY route, crafting your shower pan allows for greater creativity and adaptability, ensuring a perfect fit for your bathroom.
The Essential Layering Process: Step by Step
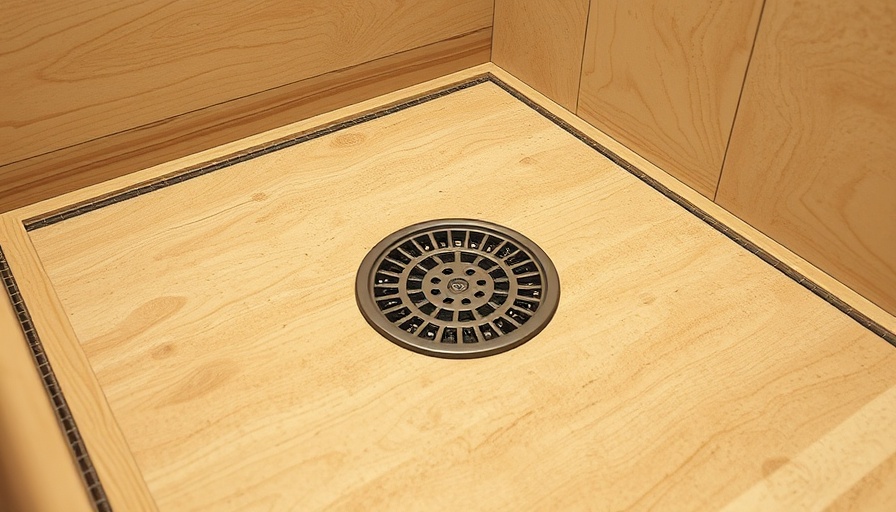
Constructing a shower pan revolves around a tiered structure, primarily involving mortar layers and waterproofing materials.
1. Pre-slope Construction: Start with a mortar base set on tar paper, creating an initial slope for the water to circulate towards the drain.
2. Waterproofing: Add a waterproof liner (typically made from PVC or a polymer) over the pre-slope to protect the subfloor from moisture damage.
3. Final Slope Layer: Above the waterproof layer, a second layer of mortar is placed, mirroring the contours of the pre-slope. This ensures a continuous slope towards the drain.
4. Tile Installation: The top layer features tiling, secured in a thin layer of mortar and grouted to finish. Tiles can range from traditional ceramic to modern porcelain, offering a plethora of design choices.
The Curb: An Important Element
A critical element of your DIY shower pan is the curb, which serves as the barrier between your shower and the rest of the bathroom. Typically between 2-3 inches high, the curb prevents water from spilling out while offering a smooth entry into the shower.
Tools and Materials: What You Need for Success
Gathering the right tools and materials is essential for a successful shower pan installation. Here’s a list to help you prepare:
- Circular Saw
- Tile of your choice
- Nails
- Mortar
- Tar Paper
- Chalk
- Measuring Tape
- Hammer
- Utility Knife
- Duct Tape
- Mixing Tray for Mortar
- Water
- Garden Hoe
- Flat Trowel
- Level
- Shower Liner
- Silicone Sealant
- Cloth
- Dry Mop
- Thinset for Tile
- Tile Spacers
- Large Bucket
Framing Your Shower Pan: A Clear Approach
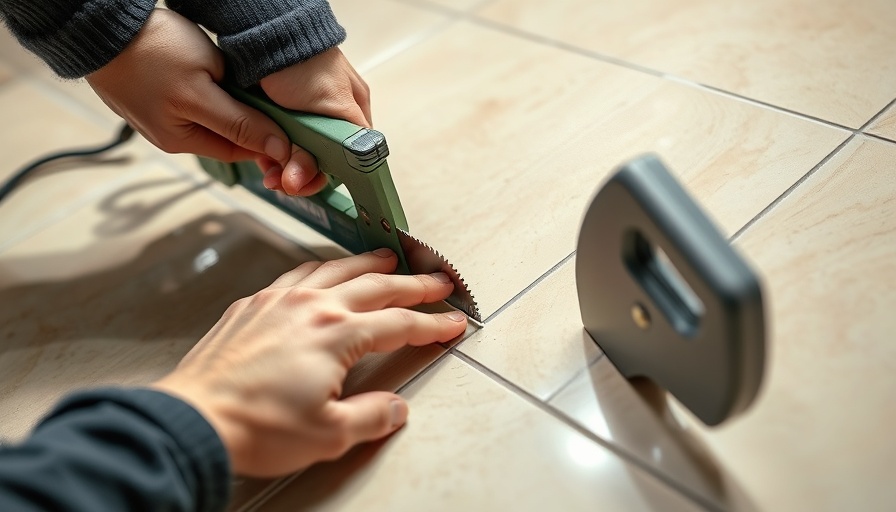
The framing of your shower pan is critical to ensure long-lasting stability. Begin by measuring the space between your wall studs, then cut your 2x6 boards to fit the dimensions needed while allowing space for the curb. Secure these boards to the subfloor using nails, making sure they are properly aligned.
Next, cover the subfloor with tar paper to protect it from moisture. Tar paper should be laid flat and secured at intervals, ensuring overlaps measure at least 2 inches to prevent leaks.
Future Trends and Innovations in DIY Bathroom Renovations
As DIY renovations grow in popularity, innovative materials and techniques are becoming available. Homeowners increasingly embrace sustainable options, integrating eco-friendly materials and energy-efficient solutions into their bathroom designs. Consider what modern products or technologies might offer you better durability or aesthetic appeal, as renovations increasingly focus on sustainability and functionality.
Summary: Embark on Your Shower Pan Adventure
The journey of building your shower pan is not merely utilitarian; it can be an enriching experience, showcasing your personal style and enhancing your bathroom's functionality. Armed with the right knowledge and tools, take the plunge into this DIY adventure and transform your space.
A DIY shower pan not only saves money but ultimately becomes a personalized retreat within your home. So gather your tools, unleash your creativity, and get started on building your dream shower today!
 Add Row
  Add
Add 


 Add Row
  Add
Add 

Write A Comment