 Add Row
  Add
Add 


Your Guide to Epoxying Shower Floors: A DIY Delight
For many homeowners, the bathroom is one of the most undervalued yet vital areas to maintain. Transforming your shower floor with epoxy can provide a fresh, modern look while enhancing durability. If you've ever wondered, "Can you epoxy a shower floor?" the answer is a resounding yes! This guide dives into how to do so effectively, ensuring your shower not only looks fabulous but stands the test of time.
The Rising Trend: Why Choose Epoxy for Your Shower?
Epoxy shower floors have gained popularity for several reasons. Firstly, epoxy is renowned for its waterproof qualities, making it ideal for wet areas like showers. According to experts from various sources, including those at Homey Improvements and Everlast Epoxy Systems, this flooring option can mimic the appearance of exotic stones like Carrara marble without the hefty price tag.
Moreover, its customizable nature allows you to get creative with design—whether opting for glittery finishes or understated elegance, epoxy fulfills diverse aesthetic needs while offering easy maintenance.
Preparation is Key: Setting the Stage for Success
Before diving into the application process, proper preparation of your shower floor is crucial. Here are some steps to consider:
- Clean the Surface: Ensure that your shower floor is spotless and dry to allow for better adhesion.
- Gather Your Materials: You’ll need an epoxy flooring kit, a sponge for application, a trowel, and cleaning supplies like vinegar for surface preparation.
As noted in source articles, neglecting the surface preparation can lead to failures, such as bubbling or uneven finishes, which nobody wants to deal with.
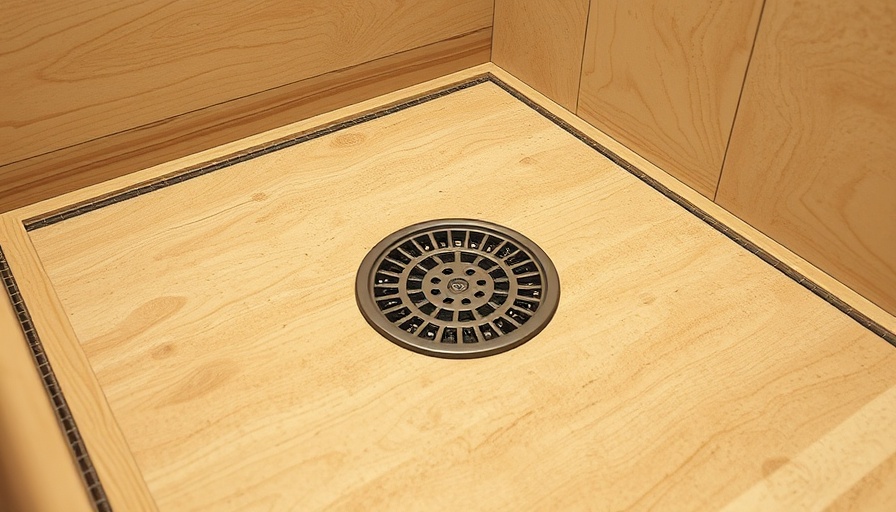
Step-by-Step Installation: Making It Happen
Now that you've prepared the floor, it’s time for the exciting part. Here’s a straightforward approach:
- Mixing the Epoxy: Follow the instructions closely to ensure you get the right consistency.
- Application: Use a damp sponge or trowel to evenly apply the epoxy across your shower floor. Filling every nook and cranny is essential for a complete coat.
- Allow to Dry: Patience is key! Wait for the recommended hours to allow the epoxy to fully cure before using the shower.
The curing process can take about 12 hours; however, you should ideally wait a week before heavy usage to ensure everything is securely set.
Common Pitfalls: What to Avoid
While epoxy installation can be a rewarding project, it’s important to be mindful of potential missteps:
- Ignoring the Dew Point: Avoid applying epoxy when the dew point is close to the room temperature, as it might cause uneven curing.
- Skimping on Safety: Always wear safety gloves and goggles to protect yourself during the mixing and application process.
Being aware of these common variables can contribute significantly to achieving a professional-looking result.
Enhancing Safety: Adding Texture for Grip
One crucial aspect to keep in mind is that newly epoxied floors can be slippery. Incorporating a non-skid additive to your epoxy mixture can greatly improve traction, especially important in a moist environment like a shower. This small addition not only enhances safety but also helps maintain the overall aesthetic.
Final Thoughts: Ready, Set, Epoxy!
Embarking on the journey of epoxying your shower floor is not just about installation but creating a long-lasting solution that resonates with your sense of style and functionality. Whether you’re aiming for a luxe look or a practical solution, epoxy provides unmatched versatility and strength.
So, are you ready to elevate your home's bathroom aesthetic? Dive into your DIY epoxy project, and discover the joy that comes from transforming your own space. After all, with some preparation and the right tools, your dream shower floor is just a project away!
For more DIY tips and detailed guides, don’t hesitate to explore our other articles.

 Add Row
  Add
Add 
Write A Comment